
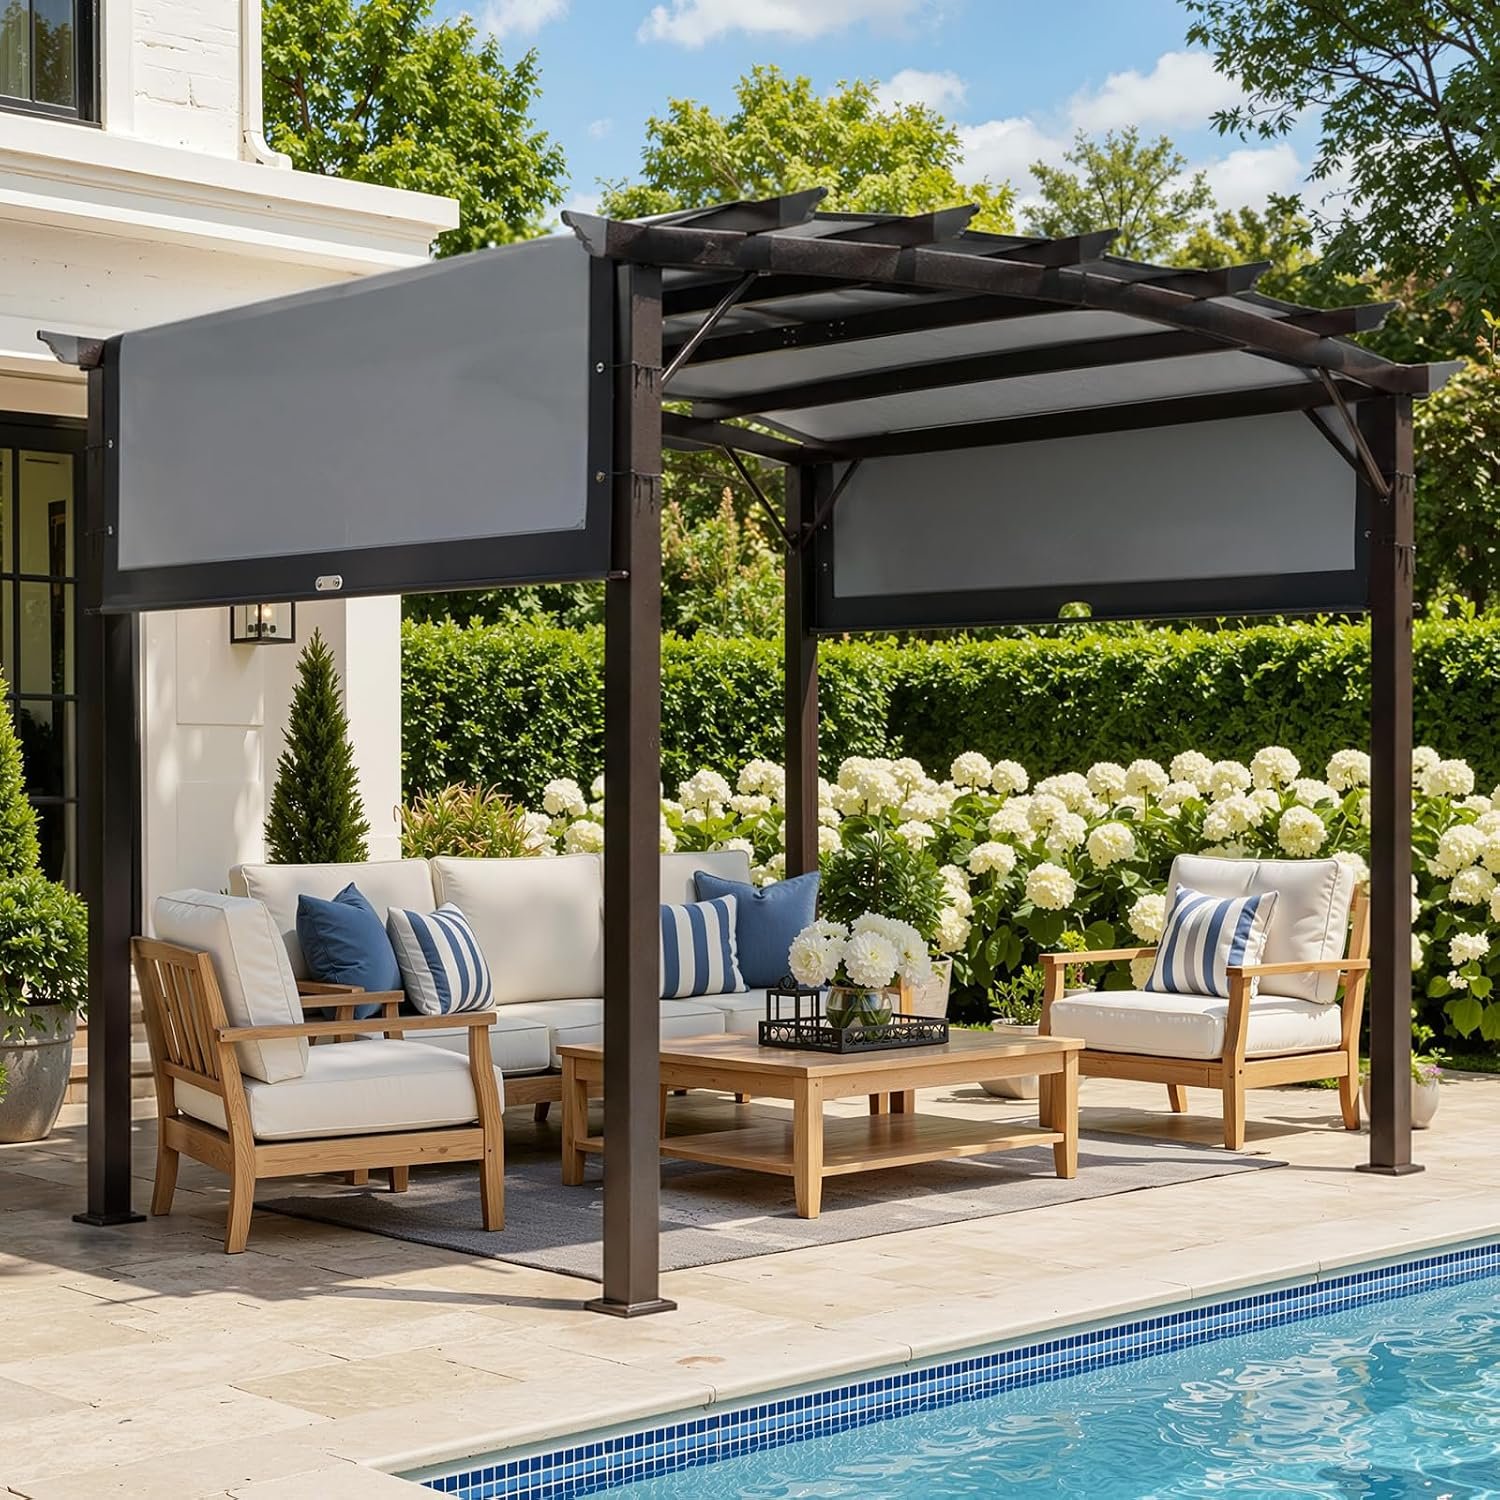
So, you want to know how to build a pergola? First of all—solid choice. There’s something about a pergola that instantly levels up your backyard game. It’s like telling the world, “Yes, I enjoy shade, structure, and the occasional glass of wine under wood beams.” 🍷
But I won’t lie—it’s a project. It’s doable (don’t worry), but you’ll need some patience, tools, and a slight obsession with symmetry. Been there, sweated that. This guide walks you through everything—step-by-step—with zero jargon and zero “just wing it” energy.
Let’s build something awesome.
Why Build a Pergola Anyway?
Need some convincing before busting out the saw? Fair. Pergolas aren’t just Pinterest eye candy. They’re functional, affordable (compared to gazebos), and give your yard structure without being a full-blown “construction site.”
Here’s why pergolas are worth it:
- Shade without full enclosure: Great for letting in light and breeze.
- Visually stunning: Adds height and interest to boring patios.
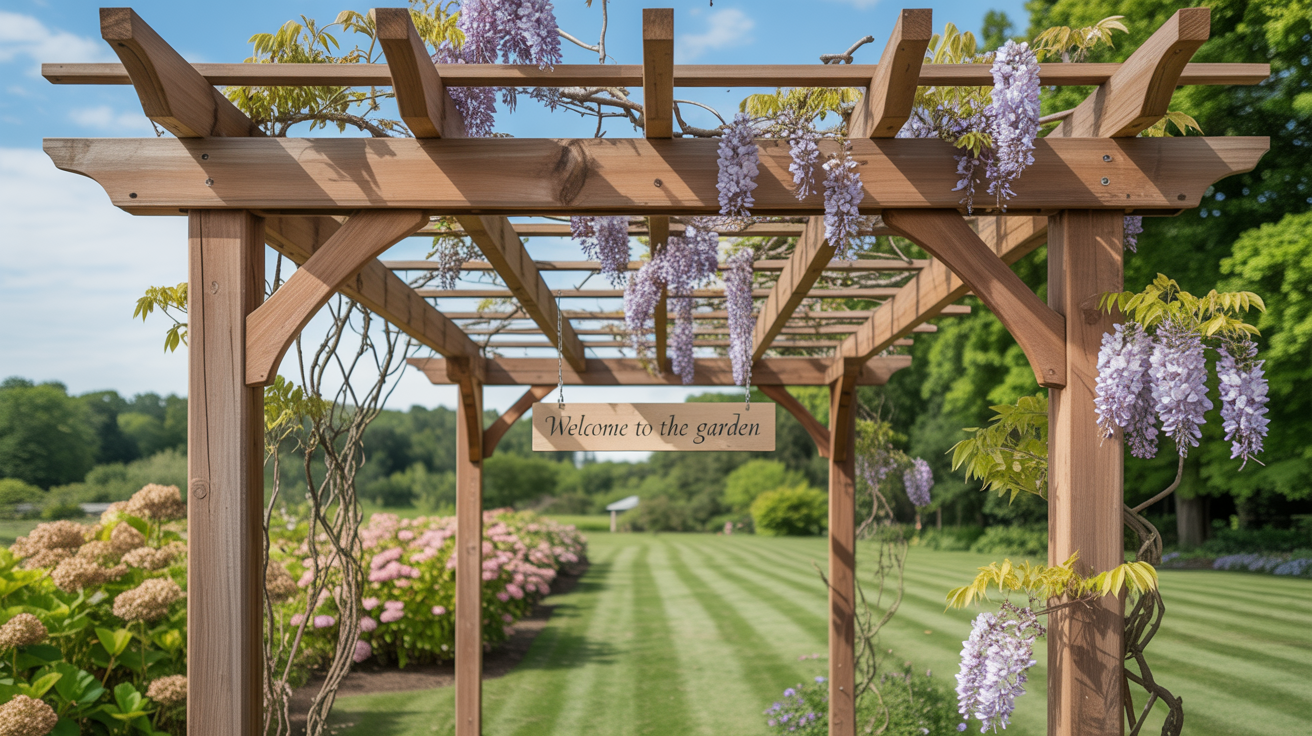
- Perfect frame for climbing plants like wisteria or vines (cue garden envy).
- Customizable: You can go rustic, modern, boho—you name it.
- DIY-friendly: If you can measure, drill, and lift without collapsing—you’re golden.

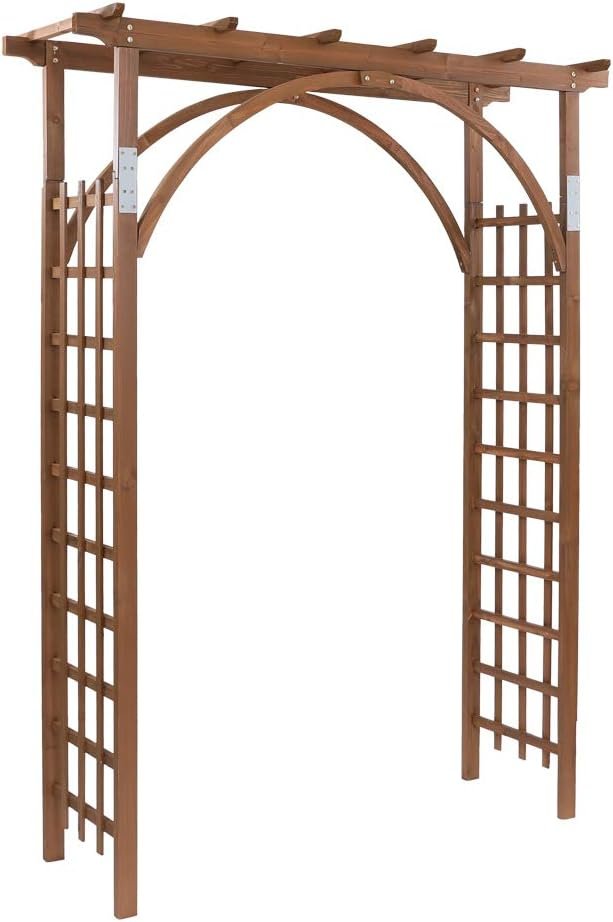
Step 1: Pick the Perfect Spot
Before you grab a single 4×4, you need to pick a location. Trust me, this is not the time for “we’ll figure it out later.”
Things to consider:
- Sun exposure: Want some shade? Face it toward the west or south.
- Surface: Building over grass = digging. Building over concrete = anchors.
- Proximity: Keep it close to the house for easy access or create a destination spot farther away.
- Local rules: FYI, some neighborhoods or cities need permits. No one wants to rebuild because of a nosy HOA.
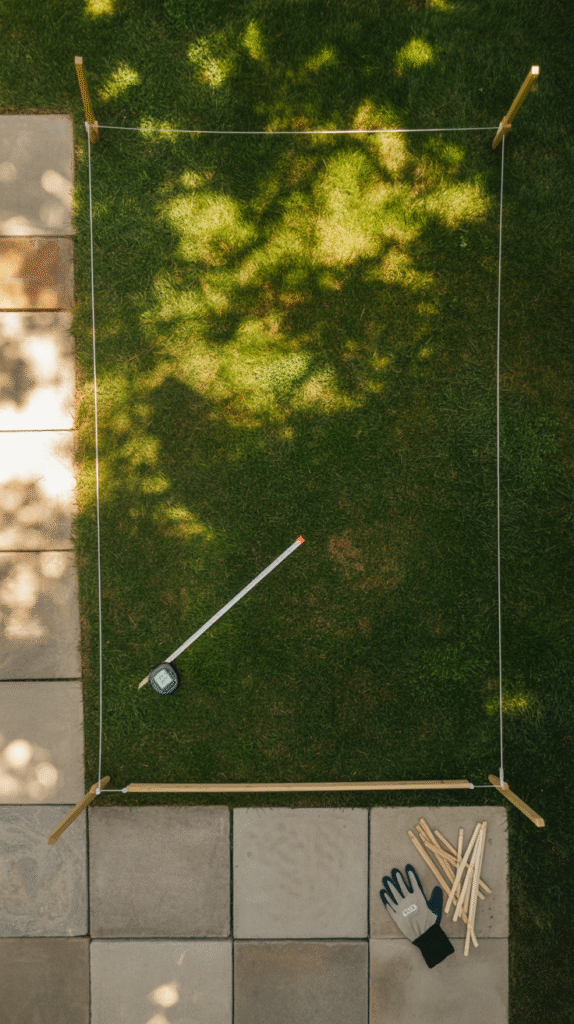
Pro tip: Outline the area with string or stakes first to get a feel for the size and placement.


Step 2: Gather Your Tools and Materials
Okay, now the fun (and slightly chaotic) part: shopping.
Basic materials for a standard 8’x10′ pergola:
- 4×4 or 6×6 posts (usually 4)
- 2×8 beams
- 2×6 or 2×4 rafters
- Concrete mix (if you’re digging holes)
- Post anchors (for concrete patios)
- Lag bolts or heavy-duty screws
- Wood sealant or paint (unless you like the “weathered and sad” look)
Tools you’ll definitely need:
- Power drill
- Saw (circular or miter)
- Measuring tape
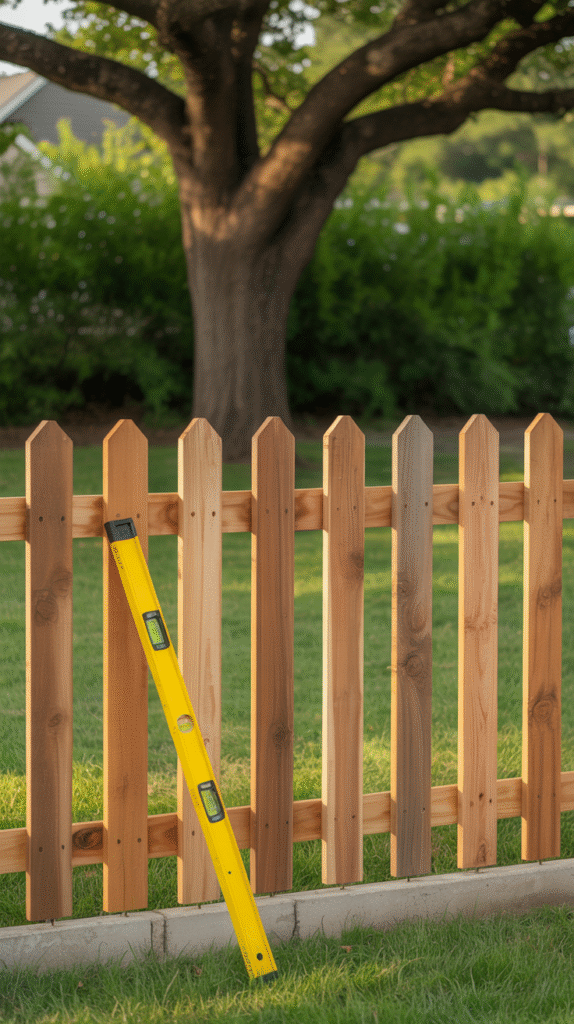
- Level (yes, that bubble matters)
- Ladder (or two, if you have a friend helping)
- Post-hole digger or auger (if working with soil)
Don’t forget the cold drinks. Building in the sun = dehydration central.

Step 3: Install the Posts
Here’s where the project starts to feel real. You’re creating the bones of your pergola now.
If you’re digging:
- Dig holes at least 2 feet deep (go deeper if frost is a thing where you live).
- Set the posts in concrete—make sure they’re perfectly plumb (straight up and down).
- Let the concrete set for 24–48 hours. Yes, waiting is annoying. No, don’t rush this.
If you’re anchoring to concrete:
- Drill pilot holes into the concrete.
- Secure metal post anchors with concrete screws.
- Slide your posts into the anchors and bolt them in tightly.
Whichever method you use—double-check the spacing and alignment. Uneven posts = wonky pergola. Ask me how I know. 😬

Step 4: Attach the Support Beams
Support beams = the horizontal boards that connect the tops of your posts. They carry the weight of the rafters, so don’t mess around here.
- Measure and cut your 2×8 beams to length.
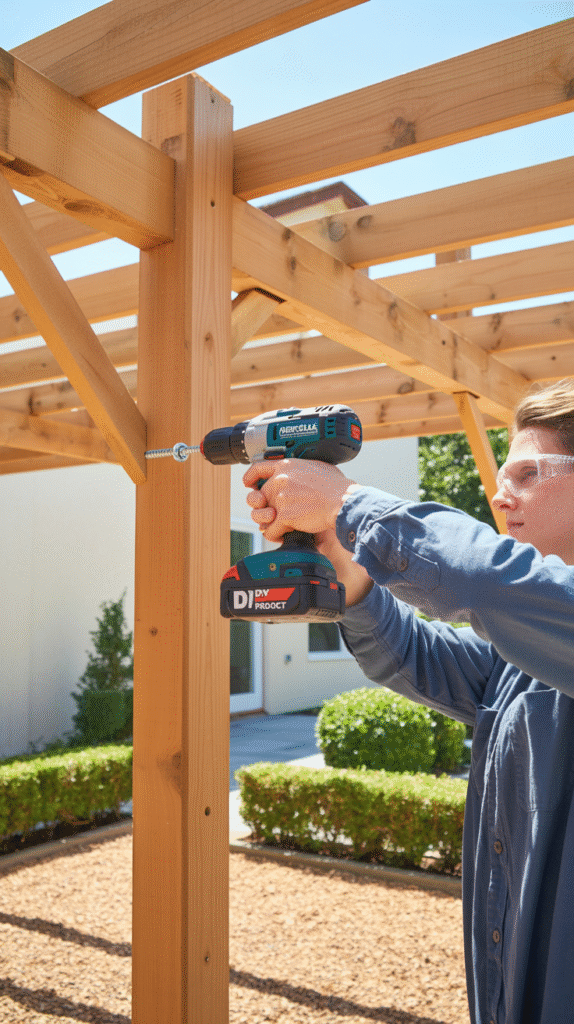
- Use lag bolts to attach the beams on the outside faces of the posts.
- Make sure the beams are level on all sides. Not “sorta level.” Actually level.
Optional: Use decorative end cuts on the beams if you’re feeling fancy.

Step 5: Install the Rafters
Ah, the part everyone sees—the rafters! These run across the top and create that classic pergola vibe.
- Space them evenly across the top of the beams (about 12–16″ apart).
- Mark the layout on the beams before you lift anything.
- Drill pilot holes and attach the rafters with heavy-duty screws or metal brackets.
Rafter placement tips:
- Alternate over and under for a layered look (if you want).
- Angle them slightly to help shade coverage.
- Add cross pieces if you’re going for extra drama or plant support.
It’s basically pergola makeup. 😎

Step 6: Secure and Finish
You’re almost done! Now it’s time to lock it in and add those final touches.
Final tasks:
- Tighten all bolts and screws
- Sand any rough edges (especially if kids are running around)
- Stain or seal the wood to protect against sun and rain
- Step back and admire your glorious creation
FYI: Skipping sealant is basically asking for warped, gray wood that screams “I gave up.”

Add-Ons That Take It to the Next Level
Okay, so the frame is up—but now comes the fun stuff.
Cool upgrades to consider:
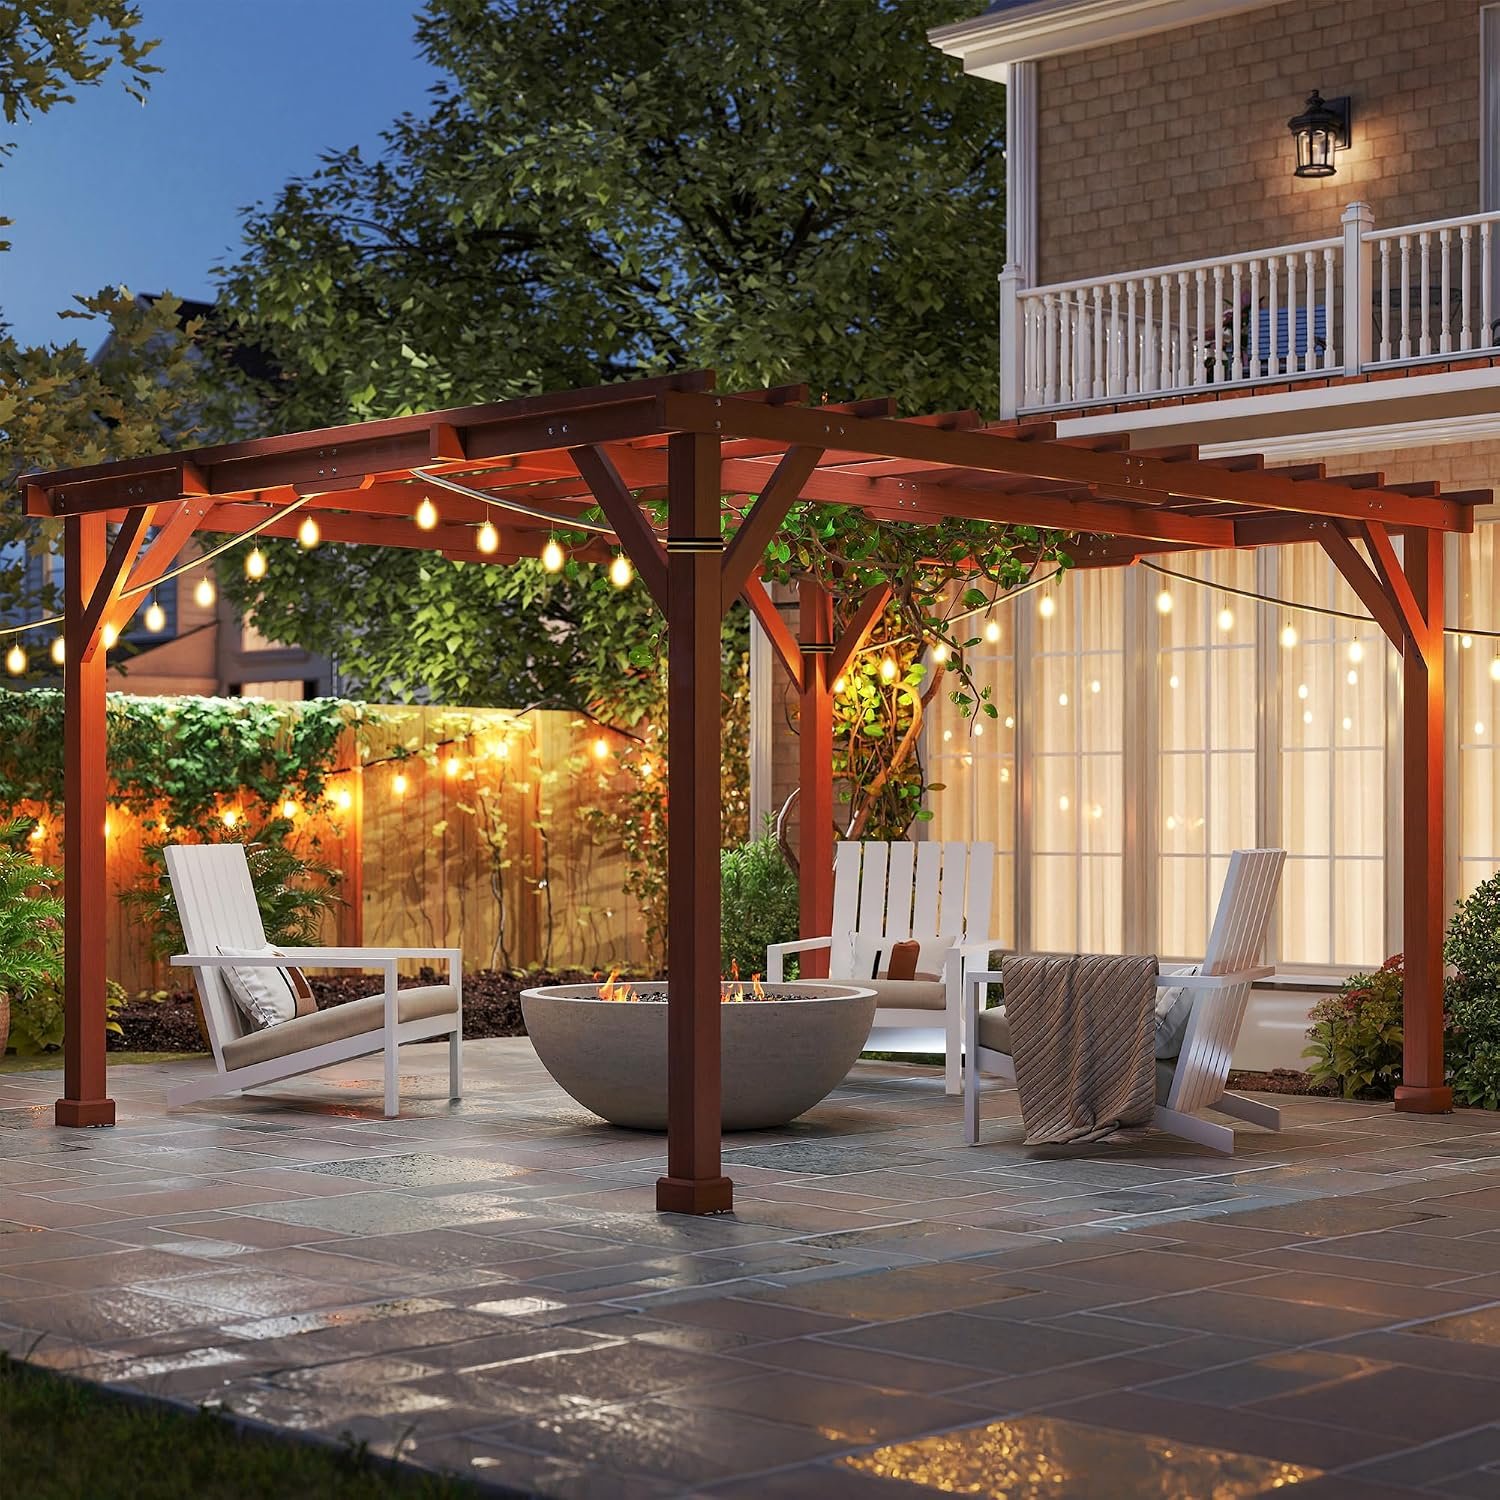
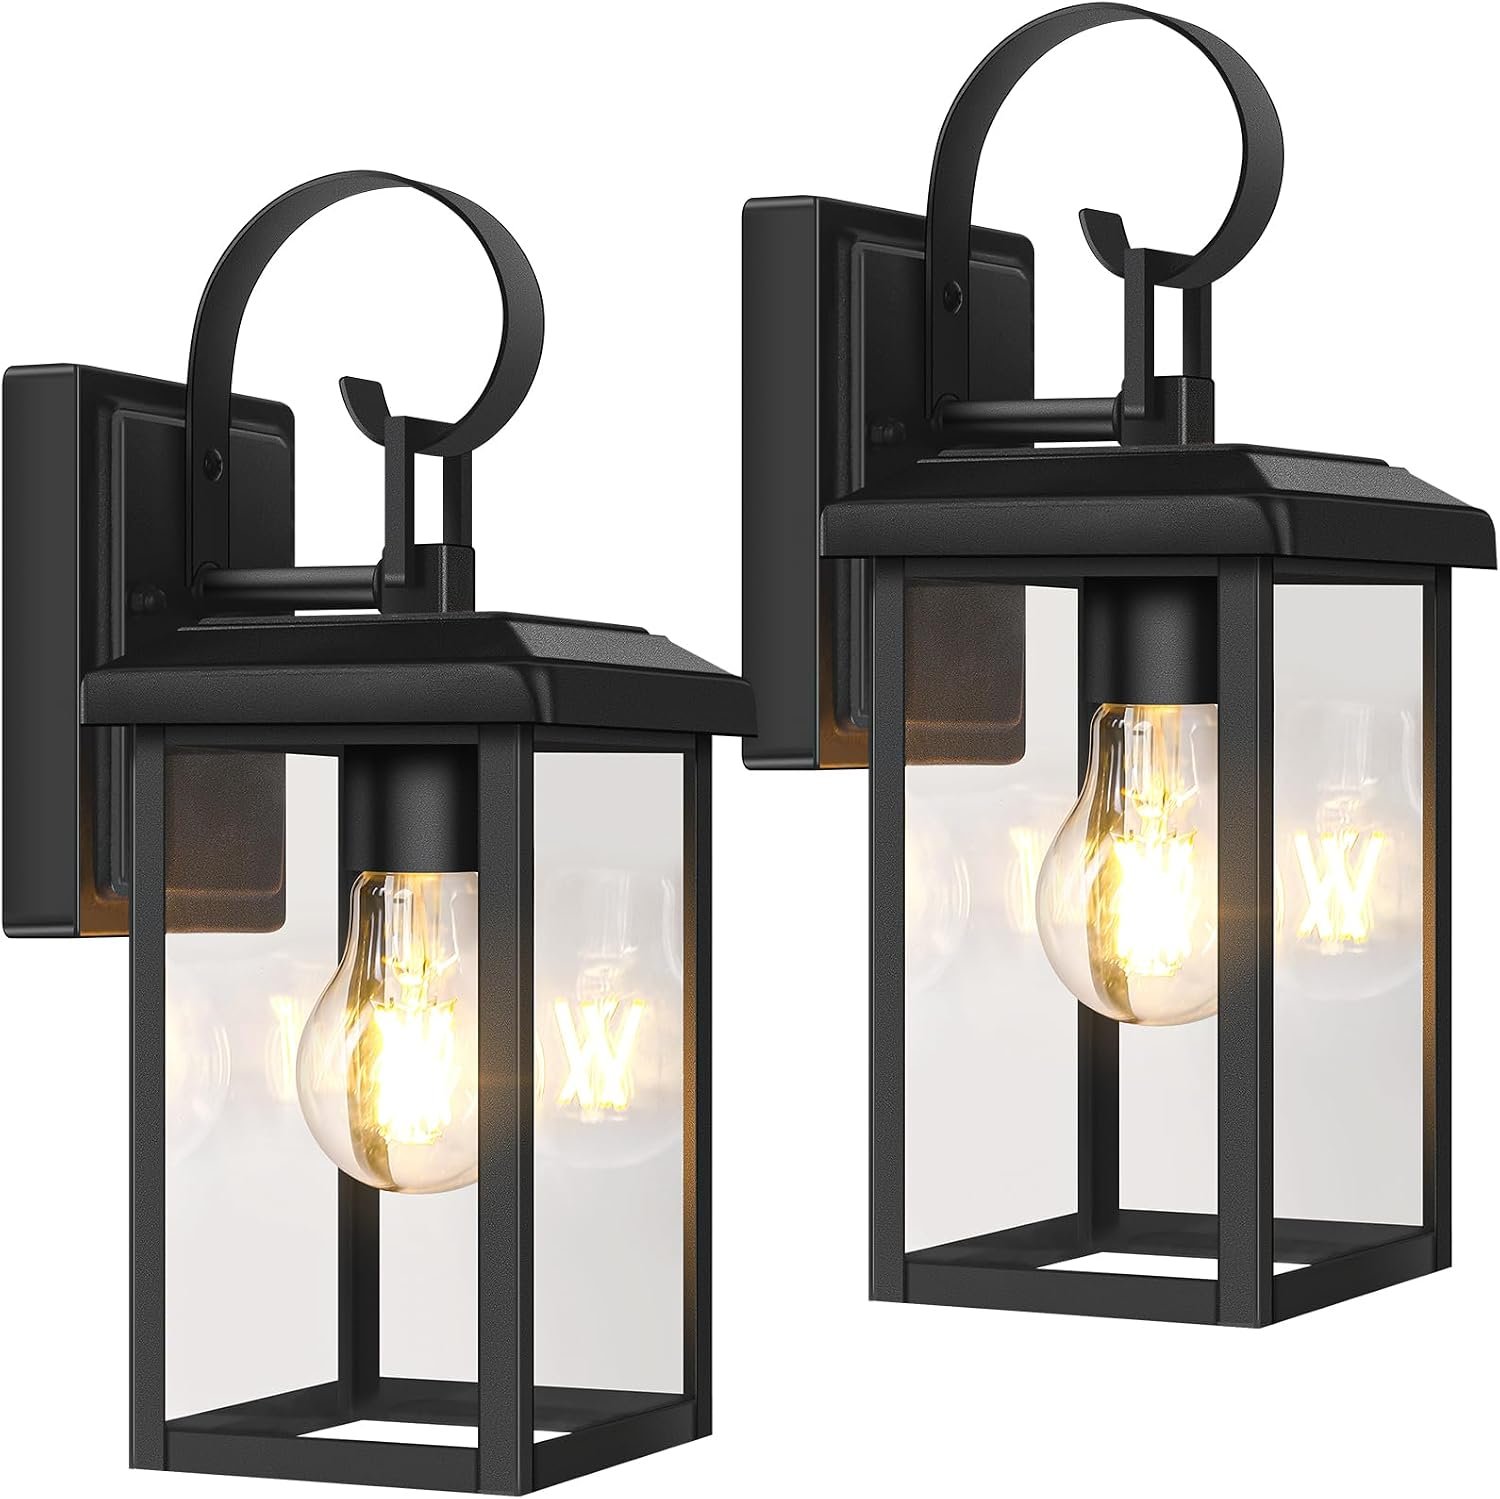
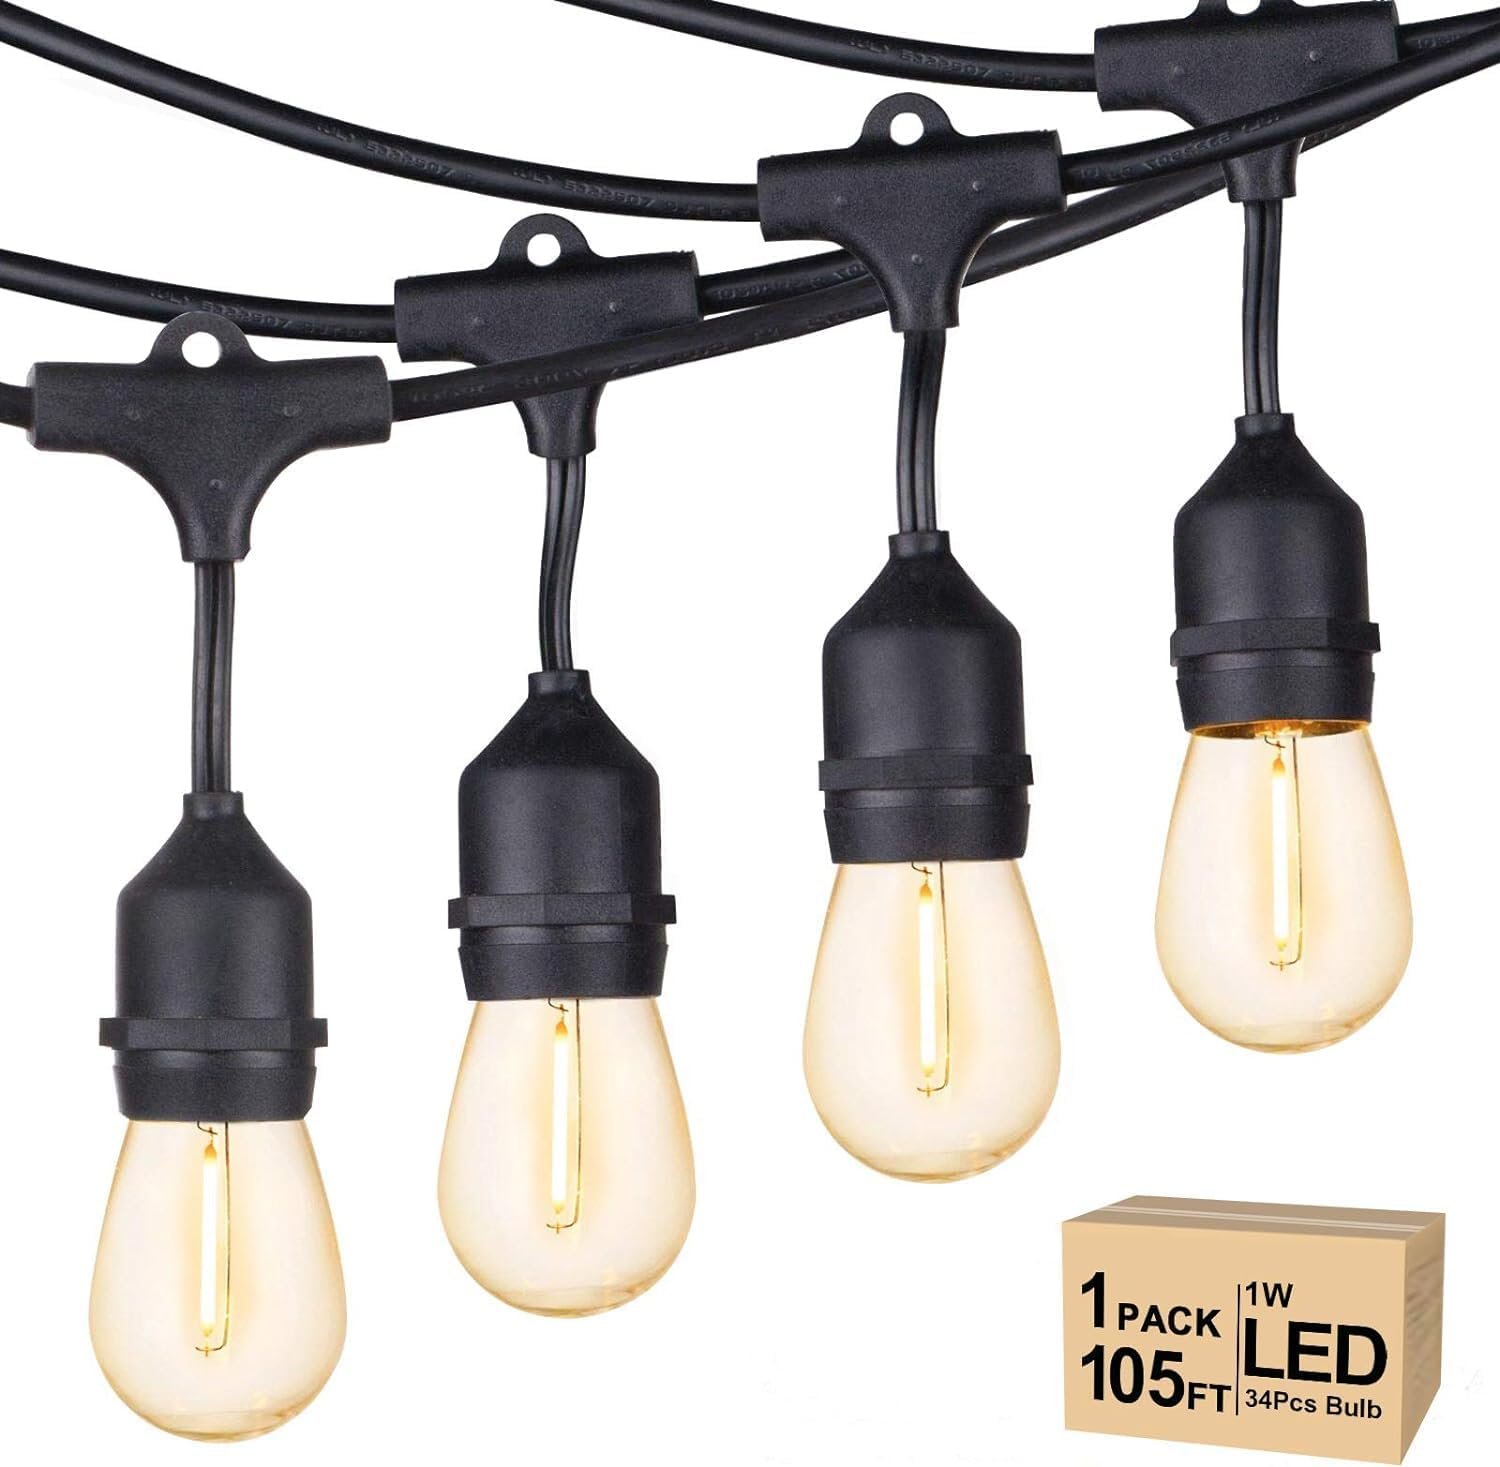
- String lights woven through rafters
- Curtains for shade and privacy
- Climbing vines or hanging planters
- Outdoor fan if you’ve got an outlet nearby
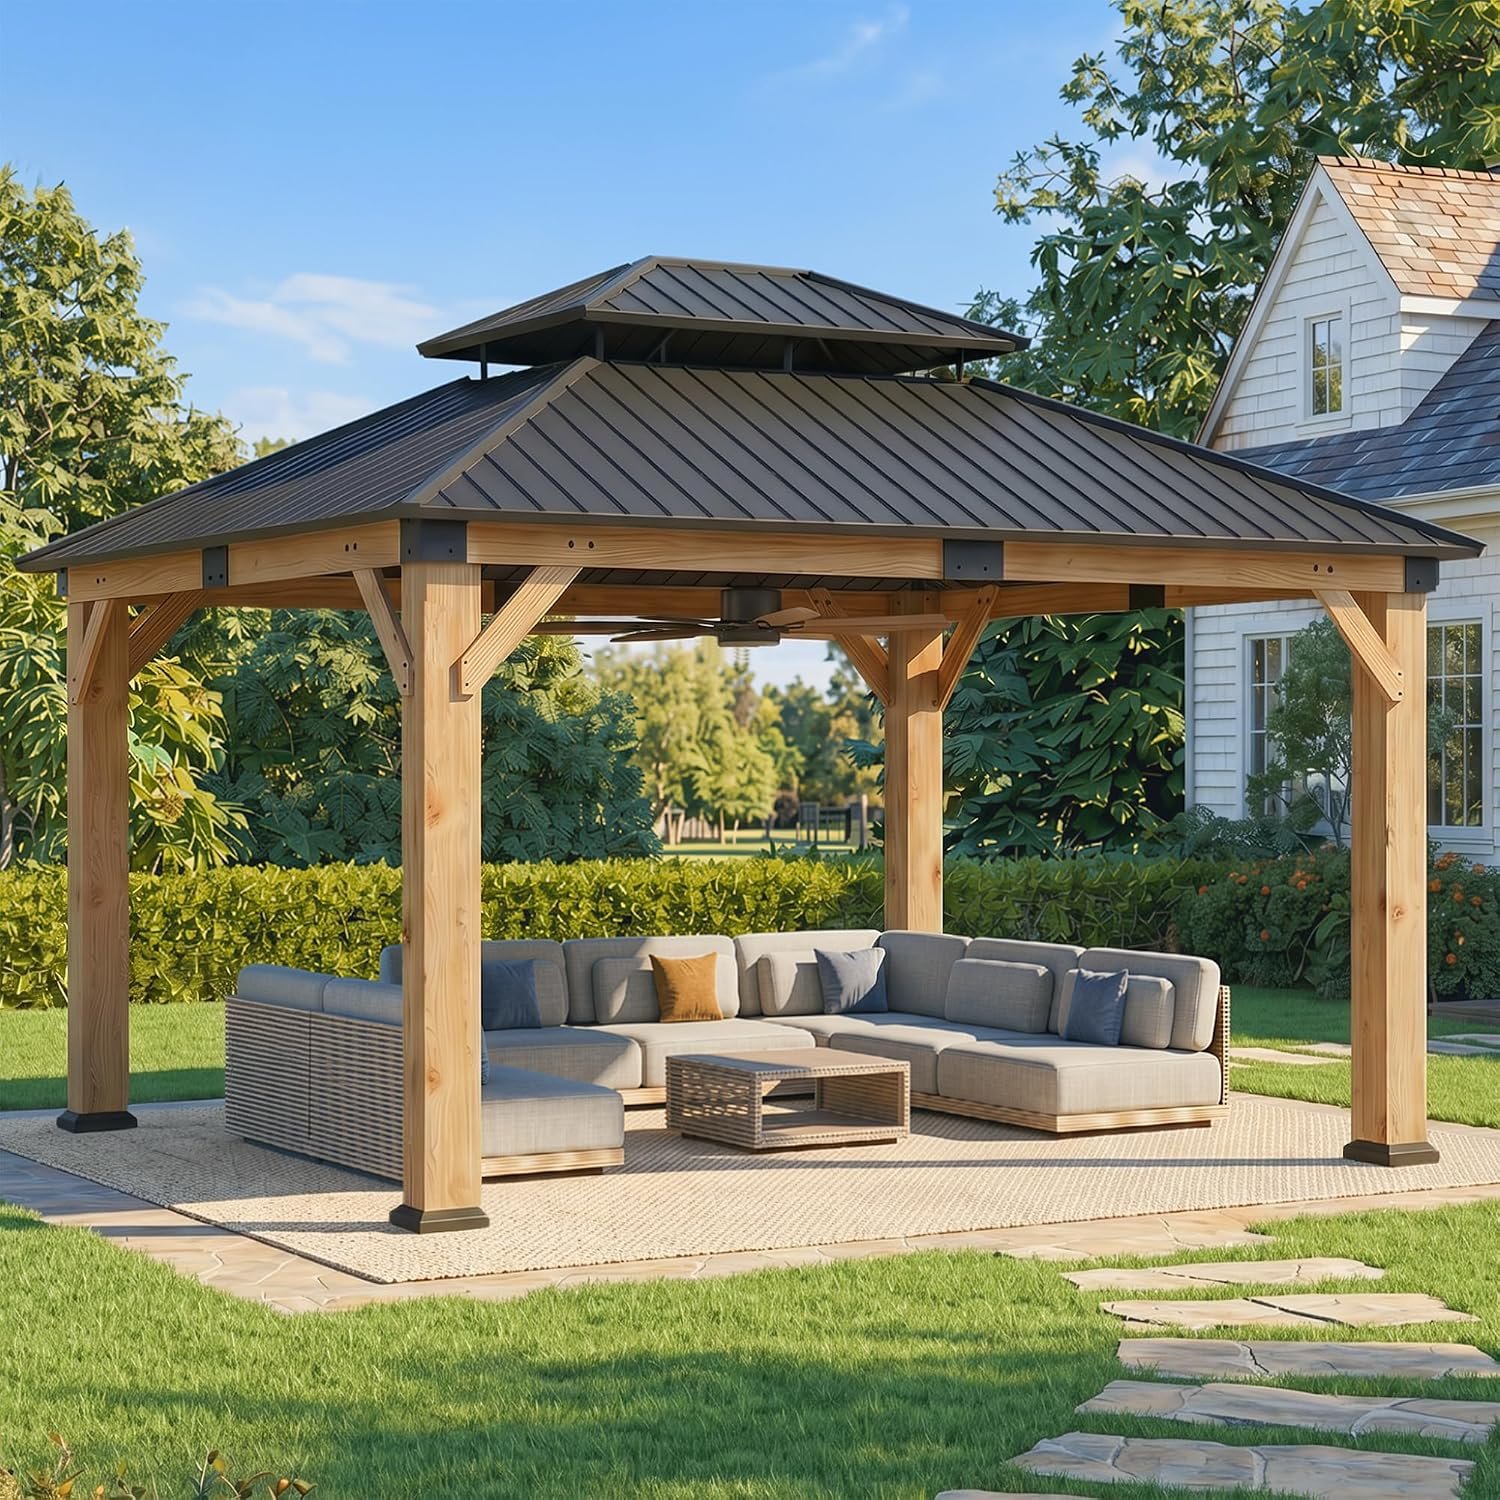
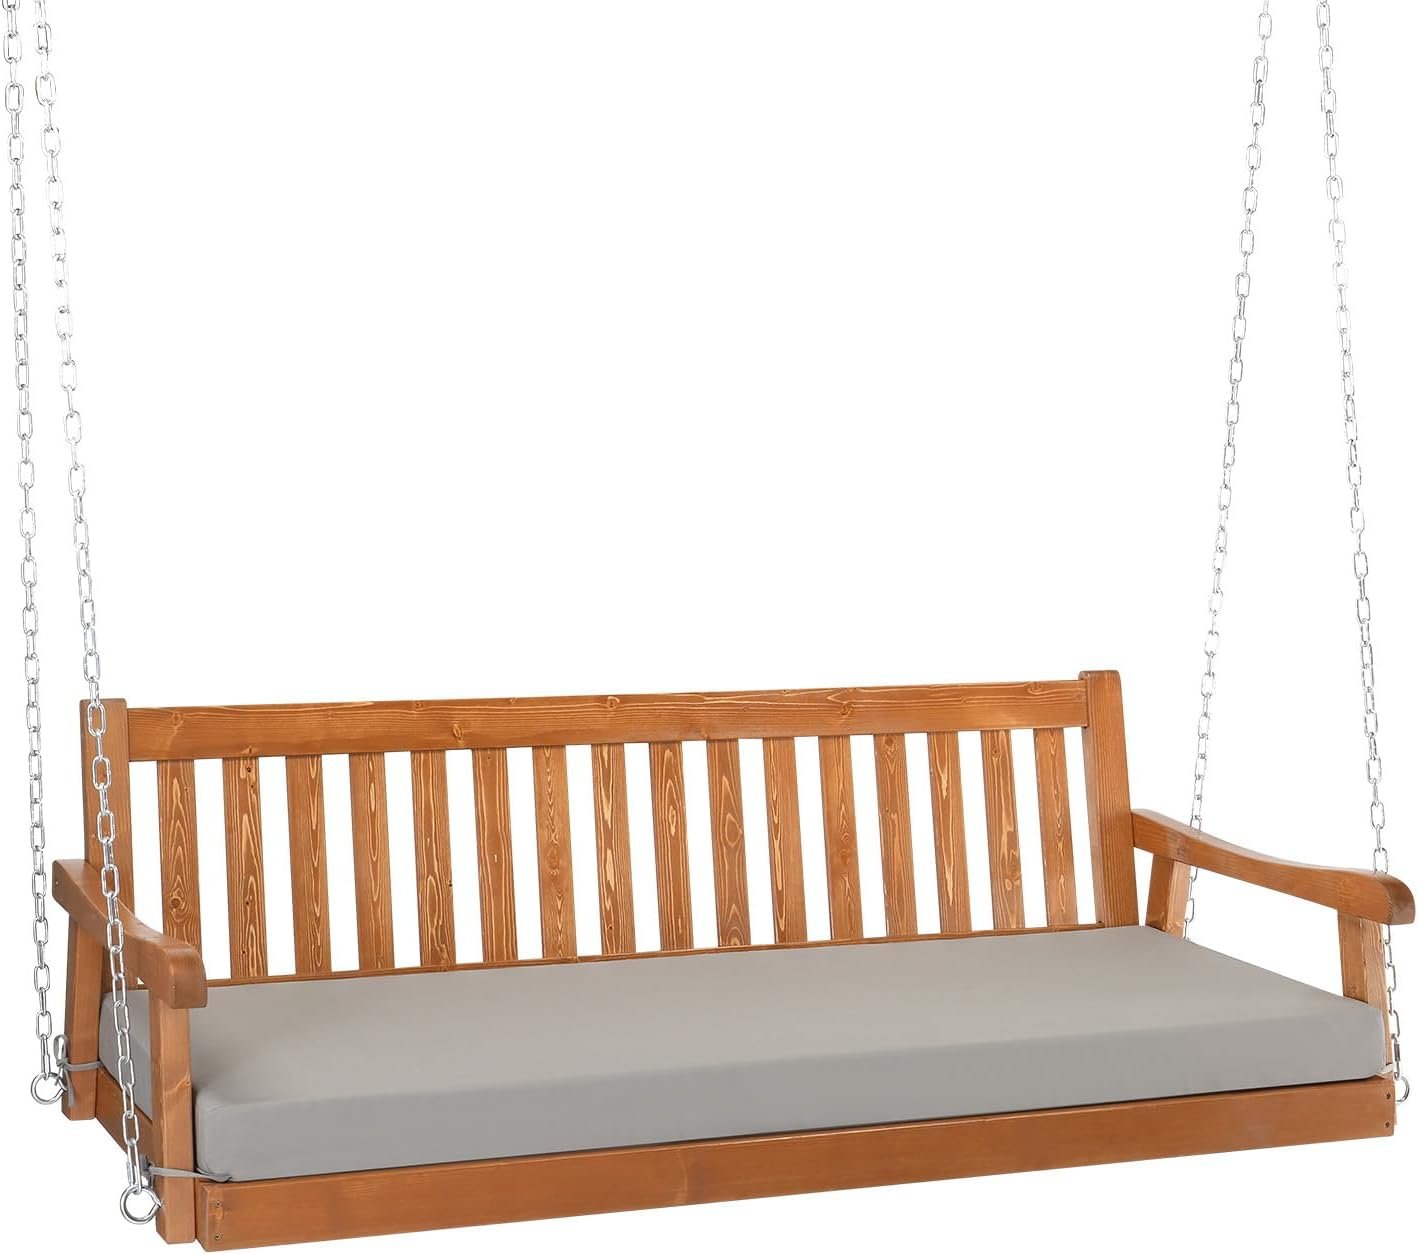
- Built-in bench or swing (extra points for style)
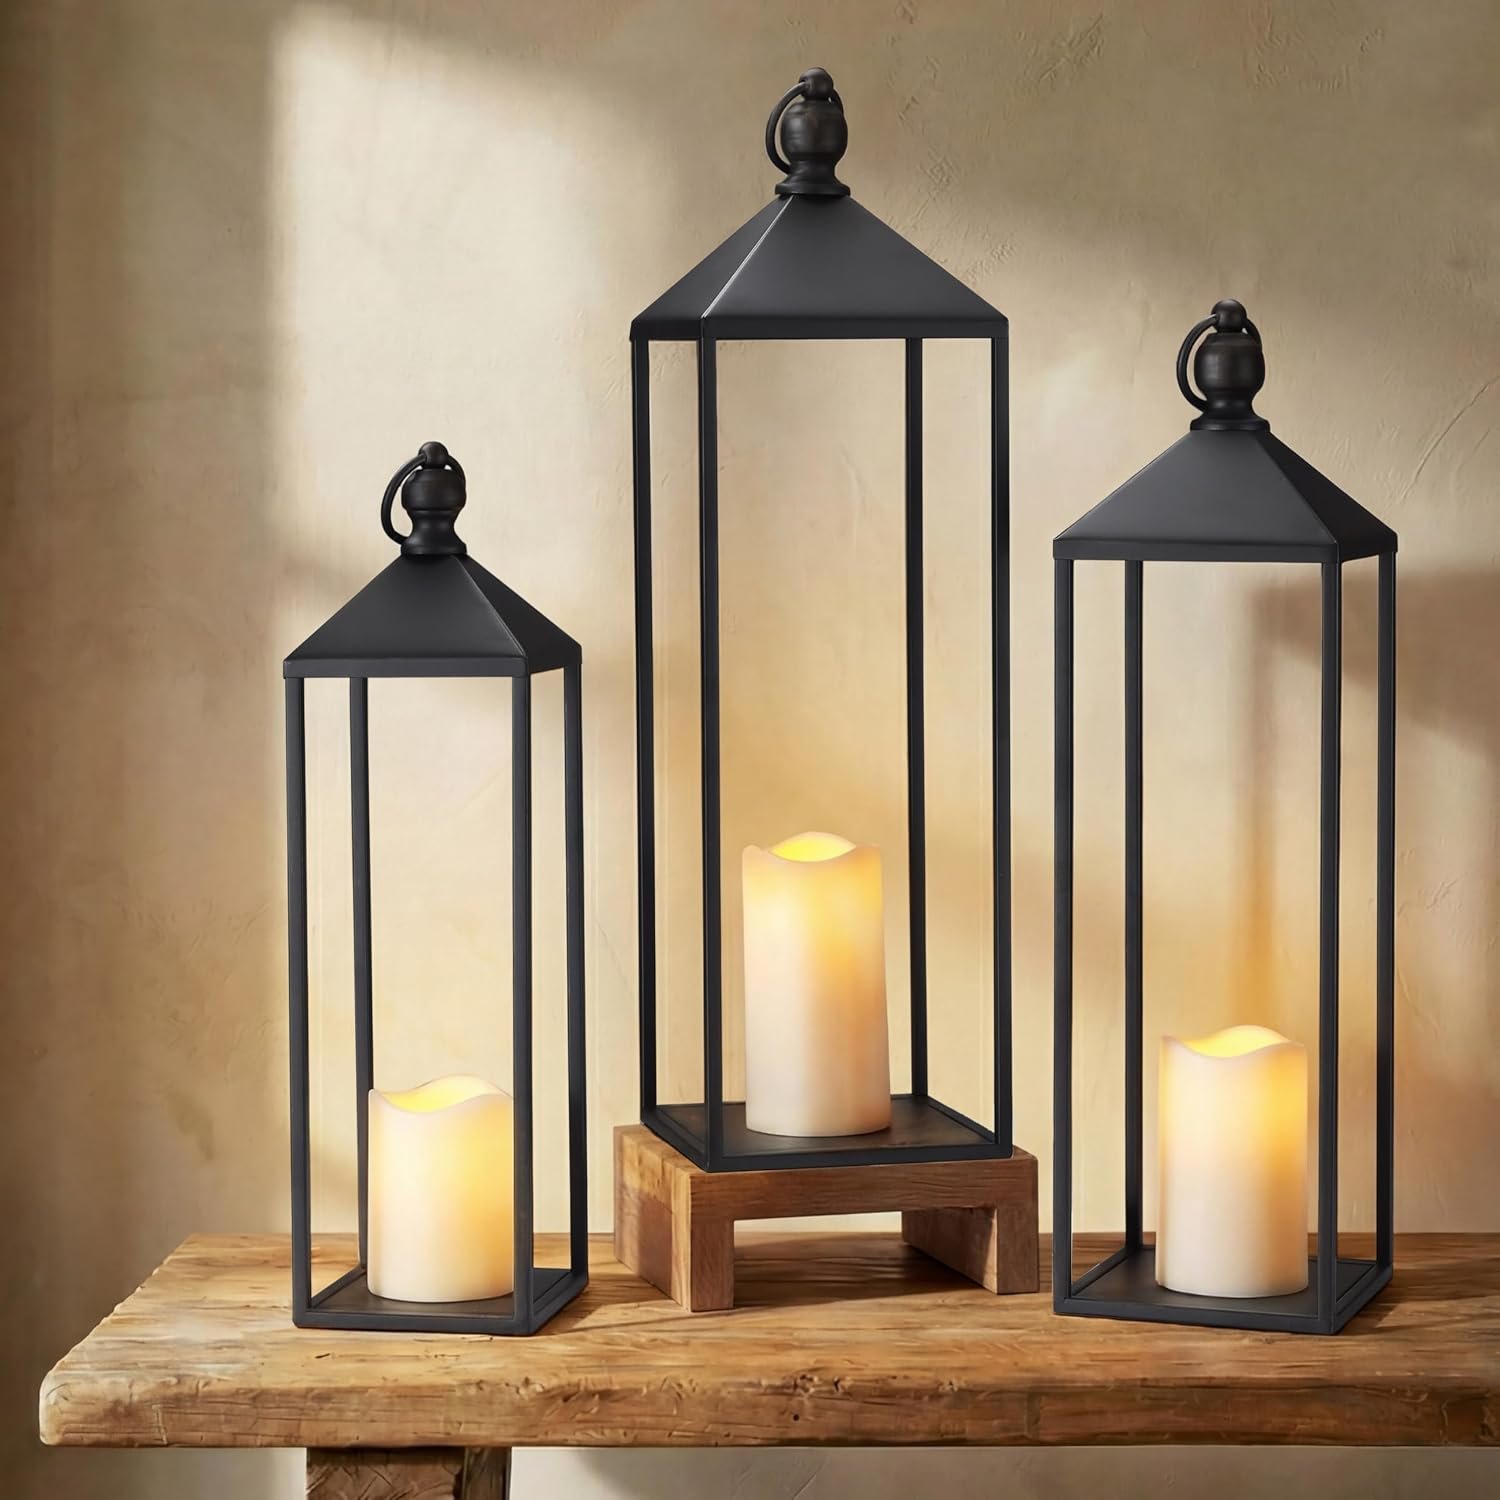
Your pergola doesn’t have to stop at “basic structure.” You can turn it into a legit outdoor room if you want to.

Common Mistakes (So You Don’t Make Them)
Let’s keep it real—building a pergola isn’t brain surgery, but there are ways to mess it up.
Avoid these:
- Skipping permits (hello, fines)
- Uneven post spacing (your rafters will hate you)
- Using untreated wood without sealing it (aka future rot city)
- Not leveling anything
- Going solo for heavy lifting (your back will never forgive you)
Ask a buddy for help—even if it’s just to hold a beam or pass you a wrench while you yell at the level bubble.
What About a Pergola Kit?
Not feeling like playing lumberjack? I get it.
Pergola kits are a real thing—and honestly, not a bad option. Especially if you want to skip all the measuring, sawing, and math.
Pros of using a kit:
- All pieces are pre-cut
- Hardware included
- Instructions are usually decent
- Takes a weekend instead of two
Cons?
- Limited styles/sizes
- Sometimes more expensive
- You still need tools (sorry!)
IMO, kits are great if you’re short on time or just want less chaos. But building from scratch gives you total creative control.
Final Thoughts: You’ve Got This
Building a pergola sounds intimidating at first—I mean, it’s a structure. With beams. And bolts. But once you break it down, it’s totally doable, even for semi-handy folks (me included).
So grab your tools, channel your inner weekend warrior, and build that backyard escape you’ve been dreaming about. Whether you’re aiming for a chill reading nook, a vine-covered lounge, or just a shady spot to escape summer sun, your pergola will be the best decision you’ve made since that fire pit.
Now go build the thing. And don’t forget to invite me over when it’s done. 😉
Filed under